

Hey there, fellow stage techs, event planners, and DIY lighting enthusiasts! Let’s cut to the chase—mounting an LED COB face light on a wall might seem like a straightforward task, but mess it up, and you’re either left with wonky light spread, a wobbly fixture mid-show, or worse, a safety hazard. As someone who’s been in the LED COB face light game for years (shoutout to all the events where I’ve seen both perfect mounts and the “oops, that light almost fell” fails), I’ve walked through this process with dozens of clients, from small wedding venues to big touring production companies. Today, I’m breaking down exactly how to do it right—no fancy jargon, just real-world tips that actually work, plus a few quick plug-ins for our fixtures that are perfect for wall mounting.

First, let’s get one thing straight: not all LED COB face lights are built the same, and choosing the right one for wall mounting will save you so much headache. If you’re grabbing a fixture that’s too heavy for your wall or has a base that doesn’t play nice with wall mounts, you’re setting yourself up for issues. Let’s start with prep work because skipping this part is where most people go wrong.
Step 1: Prep Your Space & Gather Supplies (No Random Tools Allowed)
Before you even touch your light, take 10 minutes to scope out the wall. First, check what your wall is made of—drywall? Concrete? Wood stud? This changes how you mount it, plain and simple. For drywall, you’ll need to use wall anchors that are rated for the weight of your light; if you skip anchors, your light will end up on the floor faster than you can say “check the show checklist.” For concrete, you’ll need a masonry drill bit and concrete screws—no regular wood screws here, trust me.
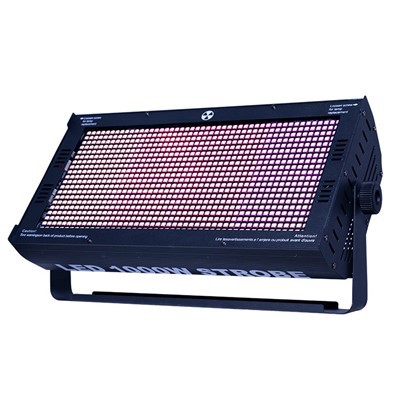
Next, calculate the weight of your LED COB face light. This is non-negotiable. Let’s say you’re going for a bright, punchy light for a small stage or photo booth; our LED 60W Mini COB Stage Light is lightweight (only like 1.5 lbs) and comes with a small mounting bracket that’s perfect for drywall or even a wooden accent wall. If you need something with a bit more oomph, maybe for a church stage or a larger wedding reception, the 200W COB Light is solid—around 5 lbs, which is still manageable with the right wall hardware. For bigger setups, like a theater production or a live music venue, you might look at our 2x100W LED Blinder Light (two 100W COB panels, so around 12 lbs) or the 400W LED Blinder Light (that heavy hitter, clocking in at 22 lbs—this one needs proper concrete anchors or a stud mount, no exceptions).
Also, don’t forget other supplies! You’ll need: a stud finder (or a drill to test for wood, if you’re feeling adventurous), a level (the cheap bubble level works, no need for a fancy laser unless you’re a perfectionist), a drill (cordless is way easier for wall work), screwdriver bits, measuring tape, pencil, and eye protection. Pro tip: if you’re mounting near power outlets, mark their location first—you don’t want to drill into an electrical wire, that’s a quick way to ruin your day.
Step 2: Choose the Right Mounting Bracket for Your Fixture
Almost all LED COB face lights come with a mounting bracket—either integrated or sold separately—but don’t just use any bracket. Let’s match this to the fixtures I mentioned earlier, because I’ve seen clients try to rig a 22 lb 400W light with a tiny bracket meant for the 60W mini, and it didn’t end well.
For the small LED 60W Mini COB Stage Light: it has a slim, clip-on bracket that slides into the fixture’s bottom slots. This is perfect for temporary wall mounts—great for pop-up events, photo shoots, or setting up a backdrop light at a wedding. You just screw the bracket to the wall, then clip the light onto it, and you’re done.
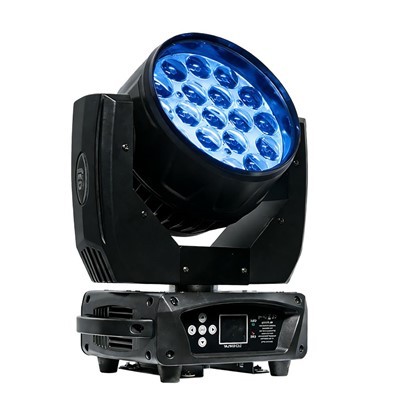
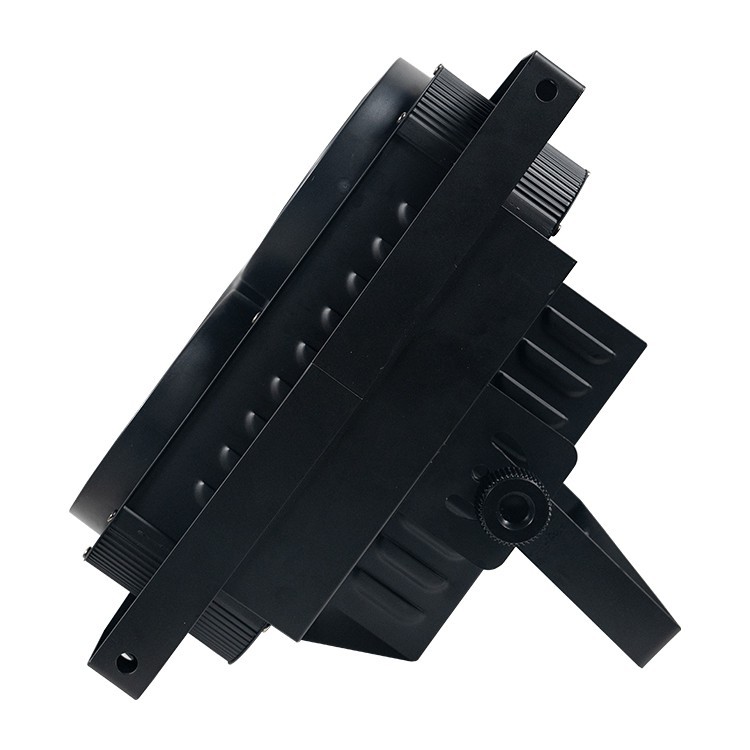
For the mid-range 200W COB Light or the Four Eyes LED Surface COB Light: these have a adjustable yoke mount (that’s the part that lets you tilt the light up and down) which is designed for both truss and wall mounting. The yoke has two holes on each end, so you can secure it to a wall with two screws or wall anchors. The adjustable tilt is clutch here—you can angle the light exactly where you need it, whether that’s lighting a speaker, a stage backdrop, or a focal point on a wall.
Now, the bigger blinder lights: the 2x100W LED Blinder Light and the 400W LED Blinder Light. These are bright, powerful, and meant for high-impact lighting, so their mounting brackets are heavy-duty steel. For wall mounting, you’ll need to use the included heavy-duty wall mount plate, and make sure you’re securing it to a stud or concrete anchor—drywall alone won’t hold the 22 lbs of the 400W light, no matter how fancy the screws are. I’ve had a few clients test this (please don’t do this) and the light ended up taking out a portion of drywall—so save yourself the repair cost and get the right hardware.
Wait, quick note: if you’re mounting the light higher up on the wall (say, 8 feet or more), make sure the bracket has a safety loop. Some of our fixtures have this, and it’s a must—you can run a safety cable from the light to a ceiling joist or another wall mount, just in case something comes loose. It’s an extra 5 minutes of work, but it’s how we keep events running smoothly and avoid damage.
Step 3: Mark, Level, and Drill (No “Close Enough” Here)
Okay, so you’ve got your supplies, your bracket matched to your light, now it’s time to mark the wall. First, decide on the height and angle of your light. If it’s a face light (meaning it’s meant to illuminate a person or a surface—like a stage performer’s face or a backdrop) you generally want to mount it at a 30 to 45 degree angle from the subject to avoid harsh shadows. For example, if you’re lighting a person standing on a stage 10 feet away, mount the light 7 to 8 feet high on the wall, angled down slightly.
Once you’ve got that spot marked, use your stud finder to confirm where the studs are—this is critical for heavier fixtures. If you’re mounting the 200W or bigger light, you must mount it to a stud. If there’s no stud where you want it, use a heavy-duty wall anchor rated for at least twice the weight of your light. For example, the 400W light needs an anchor rated for at least 44 lbs (twice its weight) to be safe.
Next, hold up your mounting bracket to the wall where you marked, and use your level to make sure it’s straight. If it’s not, adjust it until the bubble is right in the middle—even a tiny off-kilter mount will make the light look lopsided. Once it’s level, mark the screw holes on the bracket with your pencil. Take the bracket down, and drill pilot holes for your screws or anchors. Pilot holes make the screws go in easier and prevent the wall from splitting, especially in wood or drywall.
If you’re drilling into concrete, make sure you’re using a carbide-tipped masonry bit—regular bits will just skid on concrete and not make a clean hole. Drill the hole to the depth specified by your wall anchor’s instructions, then tap the anchor into the hole until it’s flush with the wall.
Step 4: Secure the Fixture & Adjust the Light Angle
Now we’re at the fun part—attaching the light. If you’re using a clip-on bracket for the 60W mini, just slide the light onto the bracket until you hear it click (some have a small latch to make sure it doesn’t slip off). For the yoke mounts on the 200W, Four Eyes, or blinder lights, line up the holes on the yoke with the holes you drilled in the bracket, then insert the screws and tighten them—don’t over-tighten, though, that can strip the holes. If your light has a tilt adjustment, loosen the yoke’s adjustment knob, angle the light to your desired spot (remember, 30-45 degrees for face lighting), then tighten the knob back up.
Now, check for wobble. Give the light a gentle push—if it moves at all, your screws are too loose, or you didn’t drill into a stud. For heavier lights, like the 2x100W or 400W, double-check that the safety cable is attached if you’re using one. This is a step I can’t stress enough—no one wants a $500 light crashing down in the middle of a show.
Step 5: Wire It Up & Test the Light (Before the Show Starts)
Last step is powering your LED COB face light. Most of these fixtures are plug-and-play, so you just need an outlet nearby. If you’re mounting the light high up, use an extension cord rated for the wattage of your light—for example, the 400W light needs a 14-gauge or thicker extension cord to avoid voltage drop. Don’t daisy-chain cords, either—run a single cord from the outlet to the light, or use a power strip rated for the total wattage of all your lights.
Once it’s plugged in, turn it on and test the light output. Walk over to where the subject (performer, photo booth guest, etc.) will stand, and see if the light is illuminating them evenly, no hot spots or dark areas. Adjust the angle if needed—sometimes even a 5-degree tweak makes a big difference. For example, if you’re using the Four Eyes LED Surface COB Light, its four separate COB panels let you adjust each one individually, so you can fill in any dark spots without messing with the whole fixture’s angle.
A quick troubleshooting tip: if your light is flickering, check the connection at the plug, or make sure the dimmer (if you’re using one) is set correctly. If it’s still flickering, there might be an issue with the power source, so swap to a different outlet.
Now, a quick note from our team—we’ve helped hundreds of customers pick the right LED COB face light for their wall mount projects, and here’s the vibe we get: a lot of people overbuy or underbuy fixtures. If you’re doing a small intimate wedding, the LED 60W Mini COB Stage Light is more than enough, and it’s lightweight enough to mount on a drywall accent wall. For a mid-sized theater, the 200W COB Light gives you that warm, natural face light you need without being overkill. For big events where you need multiple blinder lights to create a bold effect, the 2x100W LED Blinder Light is perfect, and the 400W is for when you need that extra punch in a large venue. And the Four Eyes? It’s great for wall mounting because of its compact size and adjustable panels, so it fits nicely on a wall without taking up too much space.
At the end of the day, mounting an LED COB face light on a wall is all about being prepared, using the right hardware for your fixture’s weight, and taking your time to level and adjust. Skip the shortcuts—we’ve seen way too many people save 10 minutes on prep and spend hours fixing a wobbly light or dealing with a bad light spread.
If you’re still not sure which fixture is right for your project, or you need help picking out the right mounting hardware, our team is here to help. We’ve worked with everyone from first-time event planners to seasoned touring techs, so we know exactly what works for different setups. Whether you need a tiny mini light for a photo booth or a heavy-duty blinder for a concert stage, we’ve got you covered. Reach out to our team to chat through your needs, and we’ll hook you up with the perfect LED COB face light for your wall mount project. Don’t stress about getting it wrong—we’ll make sure you get exactly what you need.
References
- LED Lighting Association. (2022). Safety Guidelines for Mounting Commercial LED Lighting Fixtures. Retrieved from industry safety reports for stage and venue lighting.
- Construction Specialties Inc. (2021). Wall Anchor and Fastener Specifications for Lighting Fixture Installation. Retrieved from technical documentation for mounting hardware in interior spaces.
- Stage Lighting Association. (2023). Best Practices for Wall-Mounted Face Light Installation in Live Events and Photography. Retrieved from industry standards for lighting setup in performance and media spaces.